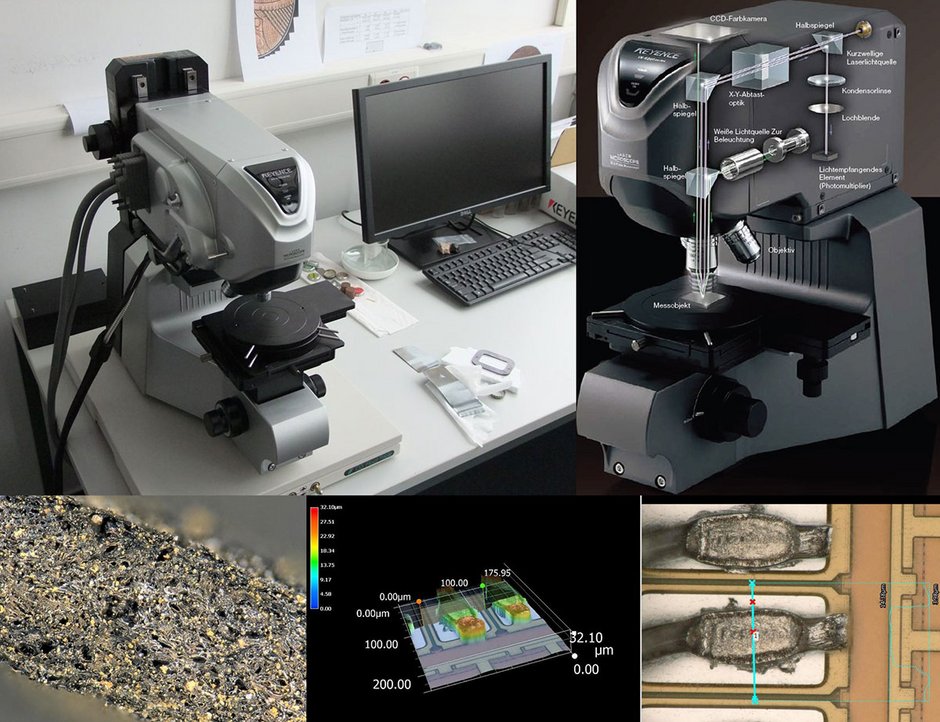
Contact: Dipl.-Ing. Sven Schulze
With the VK-X110 laser scanning microscope from Keyence, it is possible to determine profiles and roughness, among other things. Images can be taken with high depth of field. The light microscope records optical images at different heights (distance to the sample) and combines them so that not only the current image plane is in focus and sharply imaged, but if possible the entire sample. The design and operating mode of this microscope allows only reflected light microscopy.
In addition, the surface is measured using a laser (red laser, = 658 nm, 0.95 mW) and height data is obtained via the transit times of the laser light. This makes it possible to record a surface profile with high resolution. The laser light is also guided through the objective of the microscope.
Both an optical image with all color information and height data are measured by laser on the same surface. Combined, they produce a 3D image of the sample surface with high contrast. The measured height data can be analyzed in a variety of ways using the appropriate software, for example by measuring the profile and roughness.
In addition, it is possible to determine the non-destructive coating thickness of suitable samples, e.g. paints. The measurement data can be resolved into different planes that the laser light was able to penetrate. If the coating properties (refractive index) are known, the coating thicknesses can be determined. If the coating thickness is known beforehand - e.g. by profilometry - the refractive index of the coating can be deduced.
Technical data
- Different objectives for different magnifications
- Recording of depth of field images
- High-precision height information by means of laser measurement
